Introduction
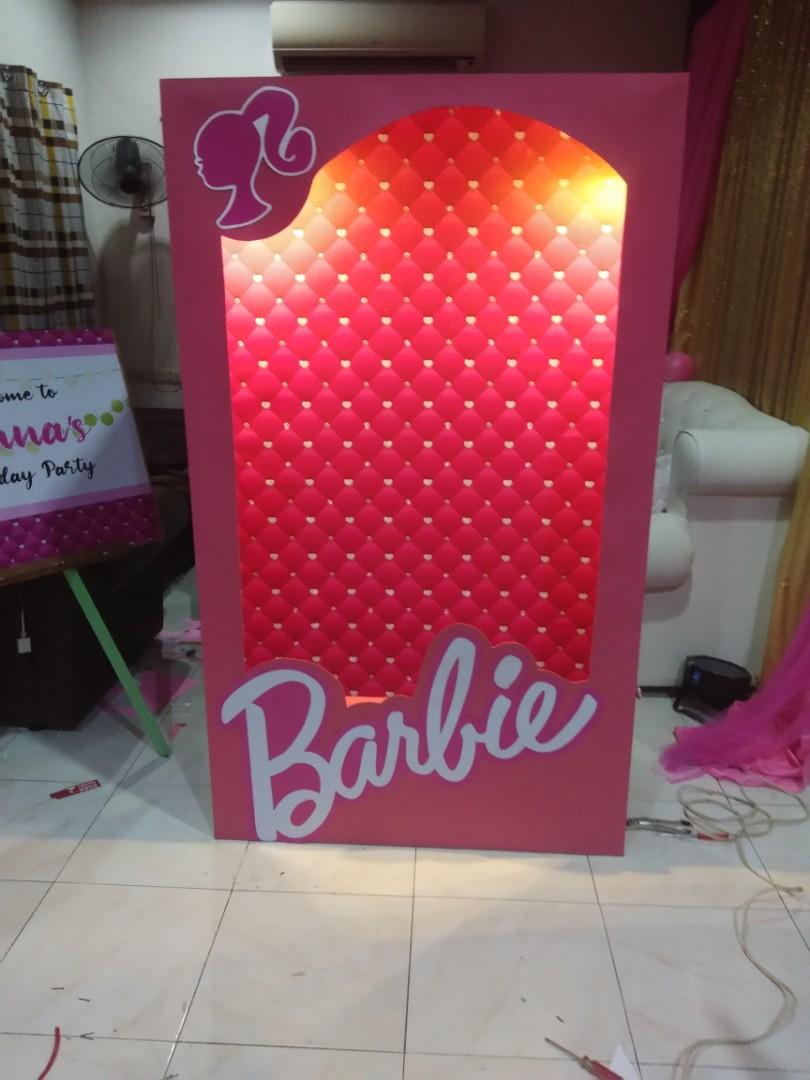
Barbie dolls have been a beloved toy for generations. They inspire creativity and imagination in children and adults alike. One fun way to enhance the Barbie play experience is by creating a Barbie box DIY. This article will guide you through the process of making your own Barbie box, providing step-by-step instructions and helpful tips along the way.

Gather Your Materials
Before you begin, gather all the necessary materials. You will need a large cardboard box, scissors, glue or tape, colored paper, markers or crayons, and any additional decorations you desire. Make sure to choose a box that is big enough to comfortably fit your Barbie doll.

Prepare the Box
Start by cutting off the top flaps of the cardboard box. This will create an open space for your Barbie doll to play inside. Next, reinforce the box by adding tape or glue to any weak spots. Ensure that the box is sturdy and can withstand playtime activities without collapsing.

Decorate the Interior
Now it's time to let your creativity shine! Use colored paper, markers, or crayons to decorate the interior of the box. You can create wallpaper, flooring, and even furniture using these materials. Consider using patterns or designs that reflect Barbie's style and personality.

Add Furniture and Accessories
To make your Barbie box DIY even more realistic, add furniture and accessories. You can craft miniature chairs, tables, beds, and other items using materials such as cardboard, popsicle sticks, and fabric. Get creative with the designs and colors to make the furniture match the overall theme of the box.

Create a Dressing Area
A dressing area is an essential part of any Barbie box. Use a small mirror and a piece of fabric to create a vanity space for Barbie to get ready. You can also add hooks or hangers to hang Barbie's clothes or accessories. This will enhance the play experience and allow for interactive role-playing.

Design a Closet
Every Barbie needs a stylish closet to store her extensive wardrobe. Use cardboard or small boxes to create a miniature closet inside the box. Add shelves or hanging rods to organize Barbie's clothes. Decorate the closet doors with colorful paper or fabric to make it visually appealing.

Create a Play Area
In addition to the dressing area and closet, you can also create a play area within the Barbie box. Use additional cardboard or foam to construct a small playground or a cozy living room. You can add a miniature TV, a sofa, or even a tiny swing set. This will provide Barbie with a variety of play options.

Personalize with Photos
Add a personal touch to your Barbie box DIY by including photos of Barbie or other decorative elements. You can print out pictures of Barbie or cut them out from magazines. Use glue or tape to attach them to the walls or furniture. This will make the box feel more personalized and unique.

Accessorize with Lights
To give your Barbie box DIY a magical touch, consider adding lights. You can use small LED lights or fairy lights to create a cozy atmosphere inside the box. Attach the lights to the walls or furniture using tape or adhesive hooks. This will create a beautiful and enchanting play environment.

Conclusion
Creating a Barbie box DIY is a fun and engaging activity that allows you to unleash your creativity. By following the steps outlined in this article, you can make a personalized play space for your Barbie doll. Whether you choose to decorate the interior, add furniture and accessories, or personalize with photos, your Barbie box will provide hours of imaginative play. Start gathering your materials and get ready to embark on a Barbie adventure!